Tag: DIY everyday

Handmade African Teak tray for a birthday gift

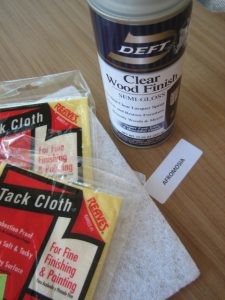
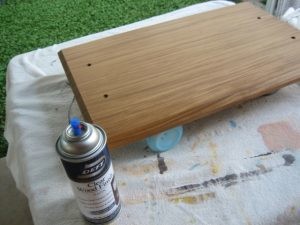
Recently, I needed an extra special gift, so I enlisted the woodworking skills of my most excellent husband to help me make this serving tray. I bought the wood at Woodworkers Source, and my friends at Modern Manor (a mid-century modern furniture store on the Melrose Curve in Phoenix) gifted me the handles. The pictures below illustrate the process…hover your mouse over the images for descriptions.

Now I want to make one for myself!

Until tomorrow~Sarah

DIY 351: Organize Hair Clips Into a Pretty Bouquet

The one accessory I am rarely without is a flower for my hair~especially these hot summer days when I have to wear my hair up to stay cool. The twenty-some flower clips I own were a little hard to sift through quickly until I attached them all to bamboo skewers and put them in a vase. Not only is it the prettiest thing in my bathroom, I can pick a flower and run~I love efficiency!

DYI 352: Sew Easy Coin Purses

I discovered the joy of sewing vinyl when I whipped out a few little bags to organize things in my purse. I have one for everything: receipts, gift cards, business cards, lip glosses. I even made one to hold little things I find while out and about.

How to make your own organizational pouch (“King Regent” pattern, shown above in upper right corner of pic):

  1. Cut a rectangle of vinyl (5″x6″)
  2. Choose  various colors of thread to embelish the outside, and sew lines or little pieces on
  3. Fold three ways (along the 6 inch side) and pin down one of the folds (when you sew this will be the pouch part, the other part is the flap)
  4. Sew up the sides to close in the pounch
  5. For the flap edge, trim a curve and sew a decorative rim~or simply cut with pinking sheers
  6. Sew a button on the pouch side, then dtermine where the hole should be on the flap
  7. Cut a button hole with scissors or a blade
  8. Repeat with all colors of vinyl and your purse will be cool and organized!

Until Tomorrow~Sarah

DIY 354: Organize Sewing Treads in a Printer's Tray

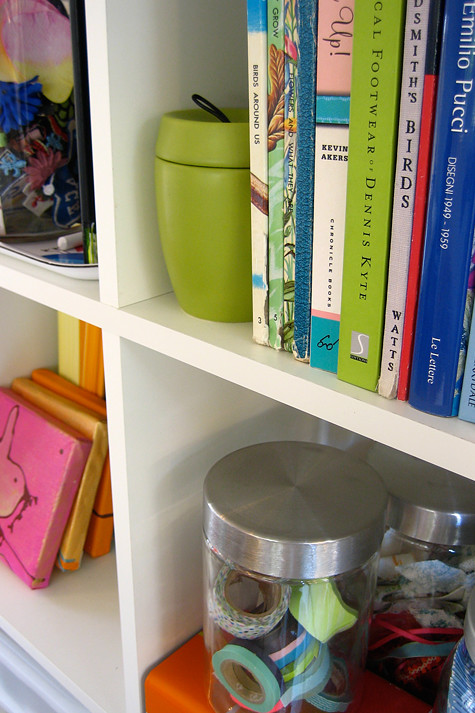
This printer’s tray has been knocking around in a closet for years now. Seriously, I am surprised I still have it. It was a gift from my mom when I was about 12. I kept all my miniature glass menagerie in it until I started high school. Well, let me tell you how happy I finally found a use for it. And a “pretty” use at that.

Keep your treads handy:

  1. Buy a printers tray (search “antique printers tray” on Ebay or Craig’s List in your area) or a shallow shelf. Honestly, even this Bamboo Flatware tray at Target would work great.
  2. Hang it on the wall near your sewing table. Not only is it handy, you can see all the colors better than when they are in a drawer and it’s pretty too!
  3. Fill it up! I find the more colors I have the more creative I get with my sewing. I use a lot of the special stitches on my Viking sewing machine now and everyone is amazed. Really, the secret is knowing what I have and what my machine can do…but I don’t tell them that. 😉

Until tomorrow~Sarah

DIY 355: Organize Bobbins On Bamboo Skewers

I have been sewing a lot lately, and it is my tendency to trade up the colored thread on a minute-by-minute basis. You know~those of you out there who wonder about storing bobbins~that the more you handle bobbins the more tangled, lost and aggravating they become. Well, I have finally found a solution I want to share.

Keep Bobbins Neat and Organized On Bamboo Skewers:

Buy a bag of skewers at the supermarket and color a few (if you care to~I do!) from tip to tip with a permanent marker. I prefer about 5 bobbins per skewer.
Measure and wrap in tape "stopper"
Next you'll want to put a tape "stopper" to hold the bobbins toward the top of the skewer. Here I have my prescribed five bobbins on and tape stuck to mark where to begin.
Twirl the tape on until the mass is larger than the bobbin hole. This will stop the bobbins from sliding down to the bottom and falling off.
Once the bobbins are all on the skewers trim any loose threads. (Do this every time the threads get out of hand~it's that easy!)
Finally, put all the skewered bobbins in a narrow necked bottle and place on your sewing table. You'll be amazed how much simpler bobbin changing will be!

One last thing: I discovered I can take all my bobbins with me. Simply grab the whole shebang and lay them in your traveling case. A rubber band gently wound around the skewer tips can keep them from flying off. Happy sewing, and I hope you have a wonderful weekend!

Until tomorrow~Sarah

DIY 357: How to Make a Rag Flower Hair Pin

I have been admiring all the rag flower hair clips and pins in Anthropologie and I have been hankering to make some for myself. Turns out it’s really easy!

How to Make a Rag Flower Pin:

Cut fabric into strips (1″x20″)
Tie 3 strips together. Leave a little “tail”. It will be the center of the flower
Twist first strip.
Run lines of glue, and begin wrapping twisted piece around center knot
Tuck end in and glue, and repeat process with other 2 strips.
Twist, wrap and glue all three stips.
If you need to, secure with a pin until dry.
Choose a fastener and sew on the back after the glue is dry.
Snip center of flower to fluff out the center.
Use the iRock to apply some sparkle.

Have fun! Have a great weekend!

Until Tomorrow~Sarah

DIY 358: Easy Home-made Jewelry with Sculpey

The summer vacay bug has bitten, and I am getting really excited to go camping. So much in fact I made three charms using Sculpey and stamps I own.

Make your own charms out of Sculpey:

  1. Purchase desired colors of Sculpey at a craft store
  2. Buy or use inking stamps. The bolder shapes and simpler lines are easiest to work with
  3. Follow directions in working with Sculpey. I found that kneeding the clay in your had to warm it up makes it very easy to work with
  4. Press into the stamps
  5. Cut away excess
  6. Use a pencil or pointy end to poke a hole in the clay where you want it to hang
  7. Bake according to directions on the box

Zooming around on the internet looking for info about Sculpey, I ran across this funny little animated short…check it out.

Sculpey the Slug — an animated short from KMPer02 on Vimeo.

Enjoy!

Until Tomorrow~Sarah