This table runner was made using the YUDU, images from the Happy Hauntings cartridge and a painters drop cloth. (The images were cut on the Cricut and burned onto a screen for printing.) Cut the drop cloth down to size. Hem. Screen print with images. Spray with wrinkle release and bunch up. Ironically the wrinkle release does a pretty good job of holding the wrinkles, and it gives the runner a great Halloween effect.
Tag: crafts for home
Halloween craft idea #6: paint a pumpkin
Halloween craft idea #5: head on a stick marshmallows
How to make head-on-a-stick marshmallows:
- Buy large marshmallows, red licorice, black gum drops and bamboo skewers.
- With a sharp knife, slice halfway through the side to make a mouth.
- Skewer marshmallow.
- Open mouth and add a slice of red licorice for the tongue.
- Cut off tiny pieces of gum drops for eyes.
- Put heads in a tall jar filled with licorice vines.
For “hair,” cut off the top of the head to expose sticky marshmallow. Color coconut with food coloring and press into the top.
Halloween craft idea #4: torture-tilla chips
Halloween craft idea #3: puffball spiders
Fast and really easy! Take a black pipe cleaner and cut it into four equal pieces. Twist them all together and glue on a black puffball. Go crazy and add eyes if you want to~either way they are fun crawling all over your Halloween table of goodies! For a Step-By-Step Follow this Link >>
Halloween craft idea #2: R.I.P. candy votive
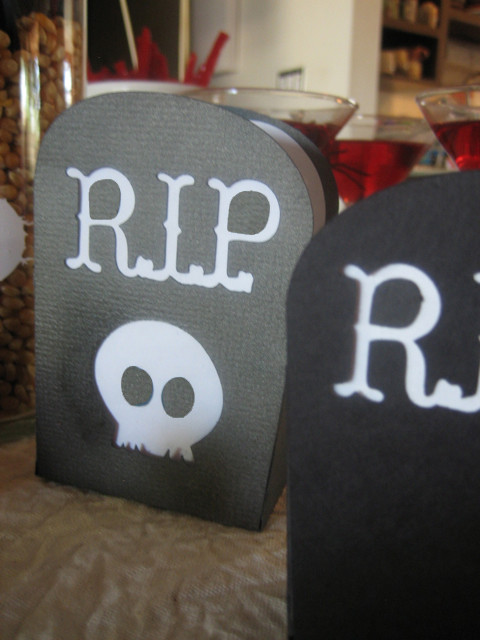
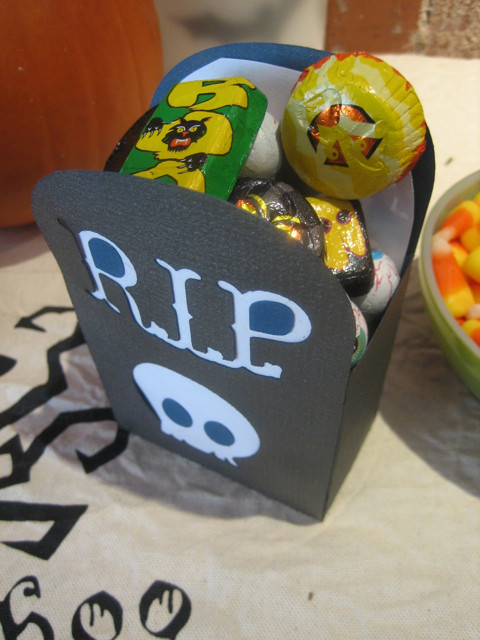
This votive holder was cut on the Cricut Expression / Gypsy with the Happy Hauntings cartridge. Here are directions for making your own:
How to make Halloween votive holders:
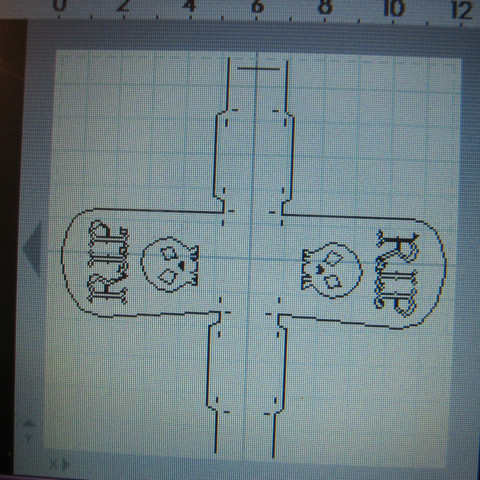
1. Pull in the Tombstone, the skull and the RIP from the Happy Hauntings cartridge. (The cartridge must be loaded onto a Gypsy in order to do this exact project. If you don’t have a Gypsy, you may just cut the Tombstone out on the Cricut. NOTE: Make the headstone stretch to 12×12, The sides of the headstone box will fall off the edge. See photo below.)
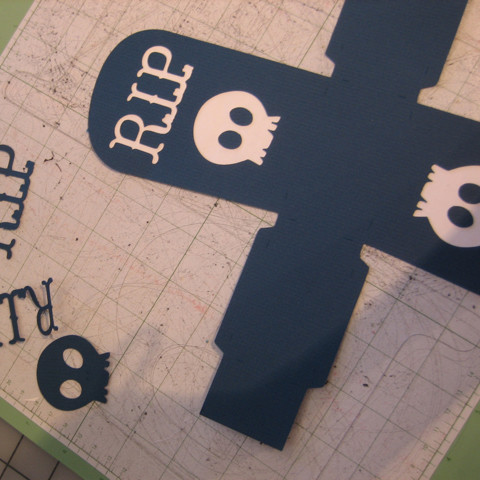
2. Cut out the headstone box (see below) on card stock or Bazzill Basics paper. I chose a denim blue here because I will be spray painting it black and I want some of the blue to show through.
3. Using metallic finish black spray paint, spray the headstone votives.
4. Once dry, trim the sides and use double-stick tape to assemble (see below.)
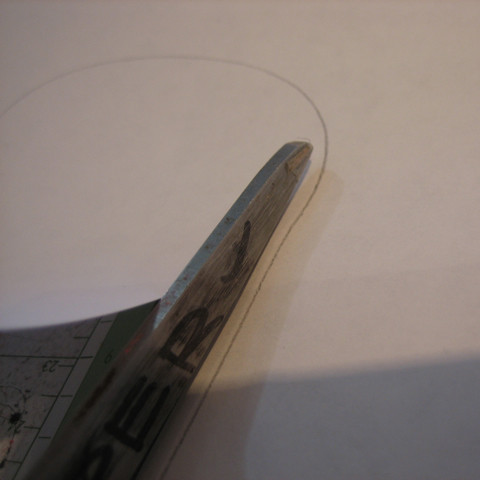
5. Use leftover card stock as a template to cut out the “window.” Trace the curve onto white copy paper. (See next two pictures.)
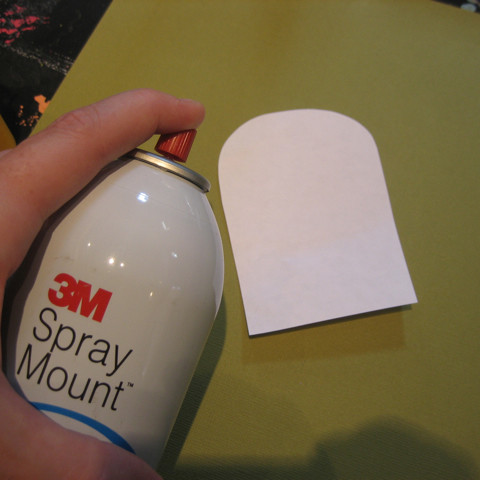
6. Spray glue onto one side of white paper and insert into headstone. Spray glue small pieces to add to the inside of letters and skull eyes (see next two photos.)
7. Fill with foil wrapped candy and put one at every place on the table.
DIY 346: Spa Party~personalized lipgloss and nail polish favors
Recently, the Girls got together and had a Spa Party. CC hosted, SB provided the food, CM brought the ingredients to make lotions and potions and I personalized the party favors. We each invited another friend and had a great time celebrating our friendship and making new friends. At the end of the day we all left with several containers of handmade beauty products and these fun little favors (pictured above).
Make your own personalized lip gloss and nail polish favors:
- Buy products in packaging that is nearly devoid of design and type. Often, products like these can be found at Target or other box stores.
- Buy rolls of vinyl made for the Cricut Expression cutting machine. If you do not have the Cricut Expression, you may hand cut the vinyl with sharp scissors.
- For these designs, use the Cindy Loo cartridge and Give a Hoot cartridge. Hand cut the cloud for behind the flying bird.
- Position the vinyl pieces over existing logos and type on the bottles.
- Place each pair in a pretty bag for giving, or put at each place-setting at the table.
Until Tomorrow~Sarah
Classes: Sew Something Fabulous! (A carry-anything pouch)
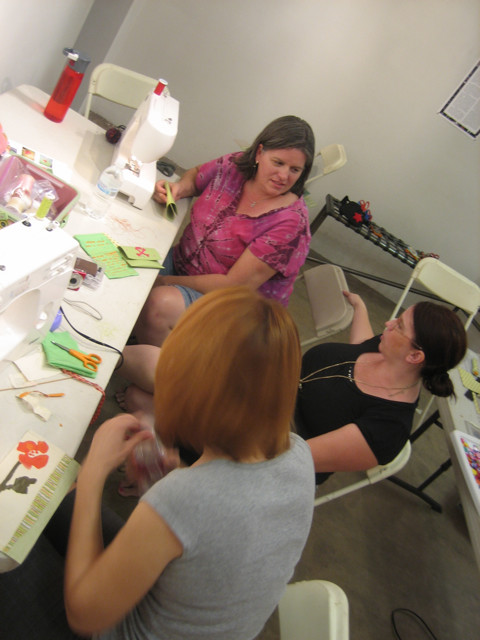
We had a great time Tuesday bringing out the sewing machines and playing with stitches and appliqué. The Eye Lounge on Roosevelt hosted the party and we made simple pouches and got creative.
Participants were shown the joy of setting aside perfectionism for the delight of discovery. We used squares of vinyl as a base for our great ideas. See the results below~
Wool sweater sleeve covers a flower pot
September is a busy month for birthdays. That means I am extra crafty this time of year. My awesome mother-in-law’s birthday is today and I whipped out this cute little thing in under an hour. She loves to have herbs on her sill for easy picking, so I think she’ll be thrilled.
I used a wool sweater that didn’t end up felting in the wash. What you see here is the end of the sleeve (the cuff is at the bottom of the pot.) It’s easy to do. Find a pot that fits into the arm hole of the sweater. It could be any sweater, actually, not just wool. Slip the pot in, and cut the arm high enough so it tucks in but doesn’t hit the bottom. Then, drop in a small potted plant. This Sage plant was purchased at a local nursery.
I had to add a little something special, of course, so I needle felted two mushrooms in her favorite colors.
Handmade African Teak tray for a birthday gift
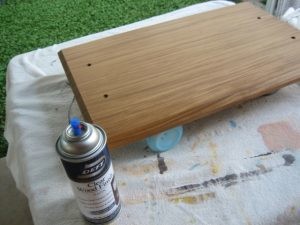
Recently, I needed an extra special gift, so I enlisted the woodworking skills of my most excellent husband to help me make this serving tray. I bought the wood at Woodworkers Source, and my friends at Modern Manor (a mid-century modern furniture store on the Melrose Curve in Phoenix) gifted me the handles. The pictures below illustrate the process…hover your mouse over the images for descriptions.
Now I want to make one for myself!
Until tomorrow~Sarah
