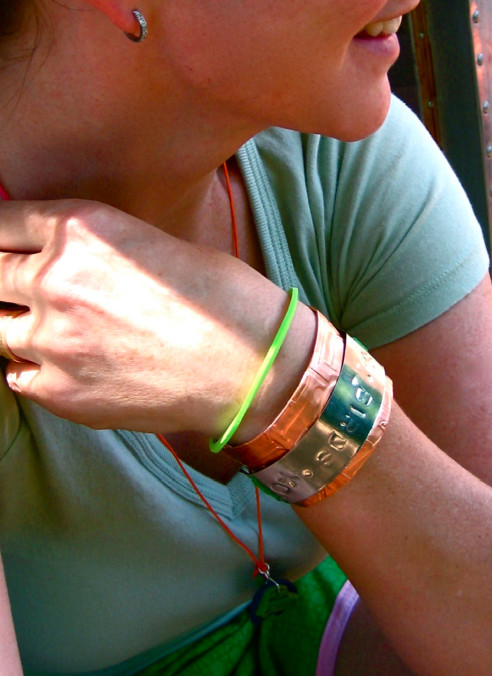
Now that I know the magic of the Cuttlebug Machine I can make all the jewelry I want. Lately I have been attracted to the tough-but-cute cuff bracelet, the kind Wonder Woman is famous for. For this one I proclaimed my love for my favorite animals~birds. Make your own, here’s how…
How to make an embossed bracelet:
- Buy two pieces of thin sheet metal (tin and copper) from a hardware or hobby store.
- Determine the correct size for your arm by wrapping a piece of paper around your wrist…be sure to leave allowance for folding the metal over an eighth inch all the way around. The metal is sharp! You’re going to want to protect yourself.
- You’ll need 10mm letter punches if you want to put your own words on the bracelet (buy them here.>>) Otherwise you can run both layers though the Cuttlebug.
- Cut the metal bands using tin snips or heavy duty scissors—watch the edges! They’re sharp!
- Select the patterns you would like embossed into the metal from the large line of Provo Craft embossing folders. For mine, I chose the Typeset Folder, ‘cuz you know me and the letters.
- With a rubber mallet punch the words into the tin and emboss the copper with the folder.
- Using the rubber mallet and the edge of a work surface, hammer the edges over to hide the rough edges.
- Adhere the two metals together using brads, and you’re done!
Now get in that invisible jet and go save the day!

