Last Saturday I ran a YUDU workshop. Here are pictures from the event. I will be holding three events in October, and two each in November and December. They are Holiday themed, so join me for the fun and leave with gifts or decorations for your home! Follow this Link to the calendar of events >>
This is the YUDU 101 class:
Here we are discussing the various parts of the YUDU.
In the photo below, I am arranging cut paper on the light table. The screen with emulsion on it gets placed over this, and then the image is burned into the screen. The bats are cut on the Cricut Expression with the Happy Hauntings cartridge.
Once the screen is exposed to light~which hardens the light-sensitive emulsion~it is time to wash out the screen in the sink. This basic laundry sink is a perfect size (below).
When the screen is completely dry it’s time to tape off the areas of the screen we don’t want to print (anything that appears white~that is the bare screen).
We only want to print one bat. Below, you can see that everything is taped off except what we need. Put the screen into the YUDU machine and get ready to print.
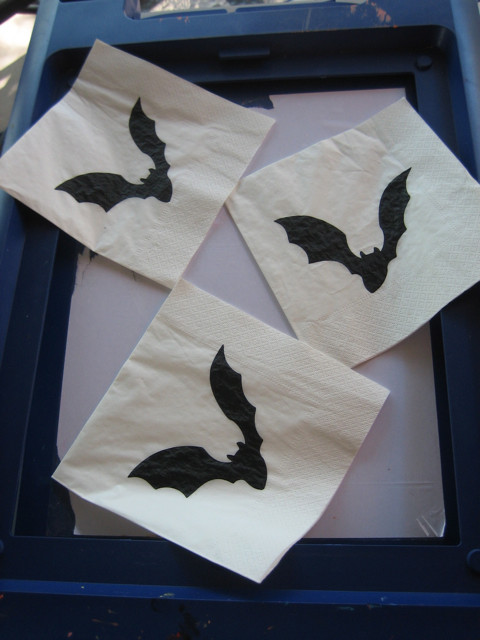
We printed napkins for an upcoming Halloween Party. The photo below shows placement under the screen.
Squirt out a good amount of ink~enough to run a thick blanket of ink over the image (this is called “flooding the screen.” The next swipe is with enough pressure to push the ink through and onto the napkin.
In the photo below, students try their hands at screen printing. It is a viscerally exciting process. So Fun!
Be sure to join me at my upcoming workshops~Screen Printing is one of the most fun crafty things you can do, and you’ll leave with some cool stuff!


